
“ROCK” IT SCIENCE
a lapidary and glass blog for the casual (and not so casual) artist
8.18.17
THE ART AND SCIENCE OF ROCKS
Tumbling
Now, with the personal history out of the way… we can jump into the real meat of this post.
Tumbling.
Tumbling rocks.
Tumbling rocks!
It’s amazing what a little inflection in a sentence will do.
Yes. I am tumbling rocks.
Yes. Tumbling Rocks! As in, it’s cool.
Okay, you may not have needed that explanation.
Just making sure I reach my “mature” audience members too.
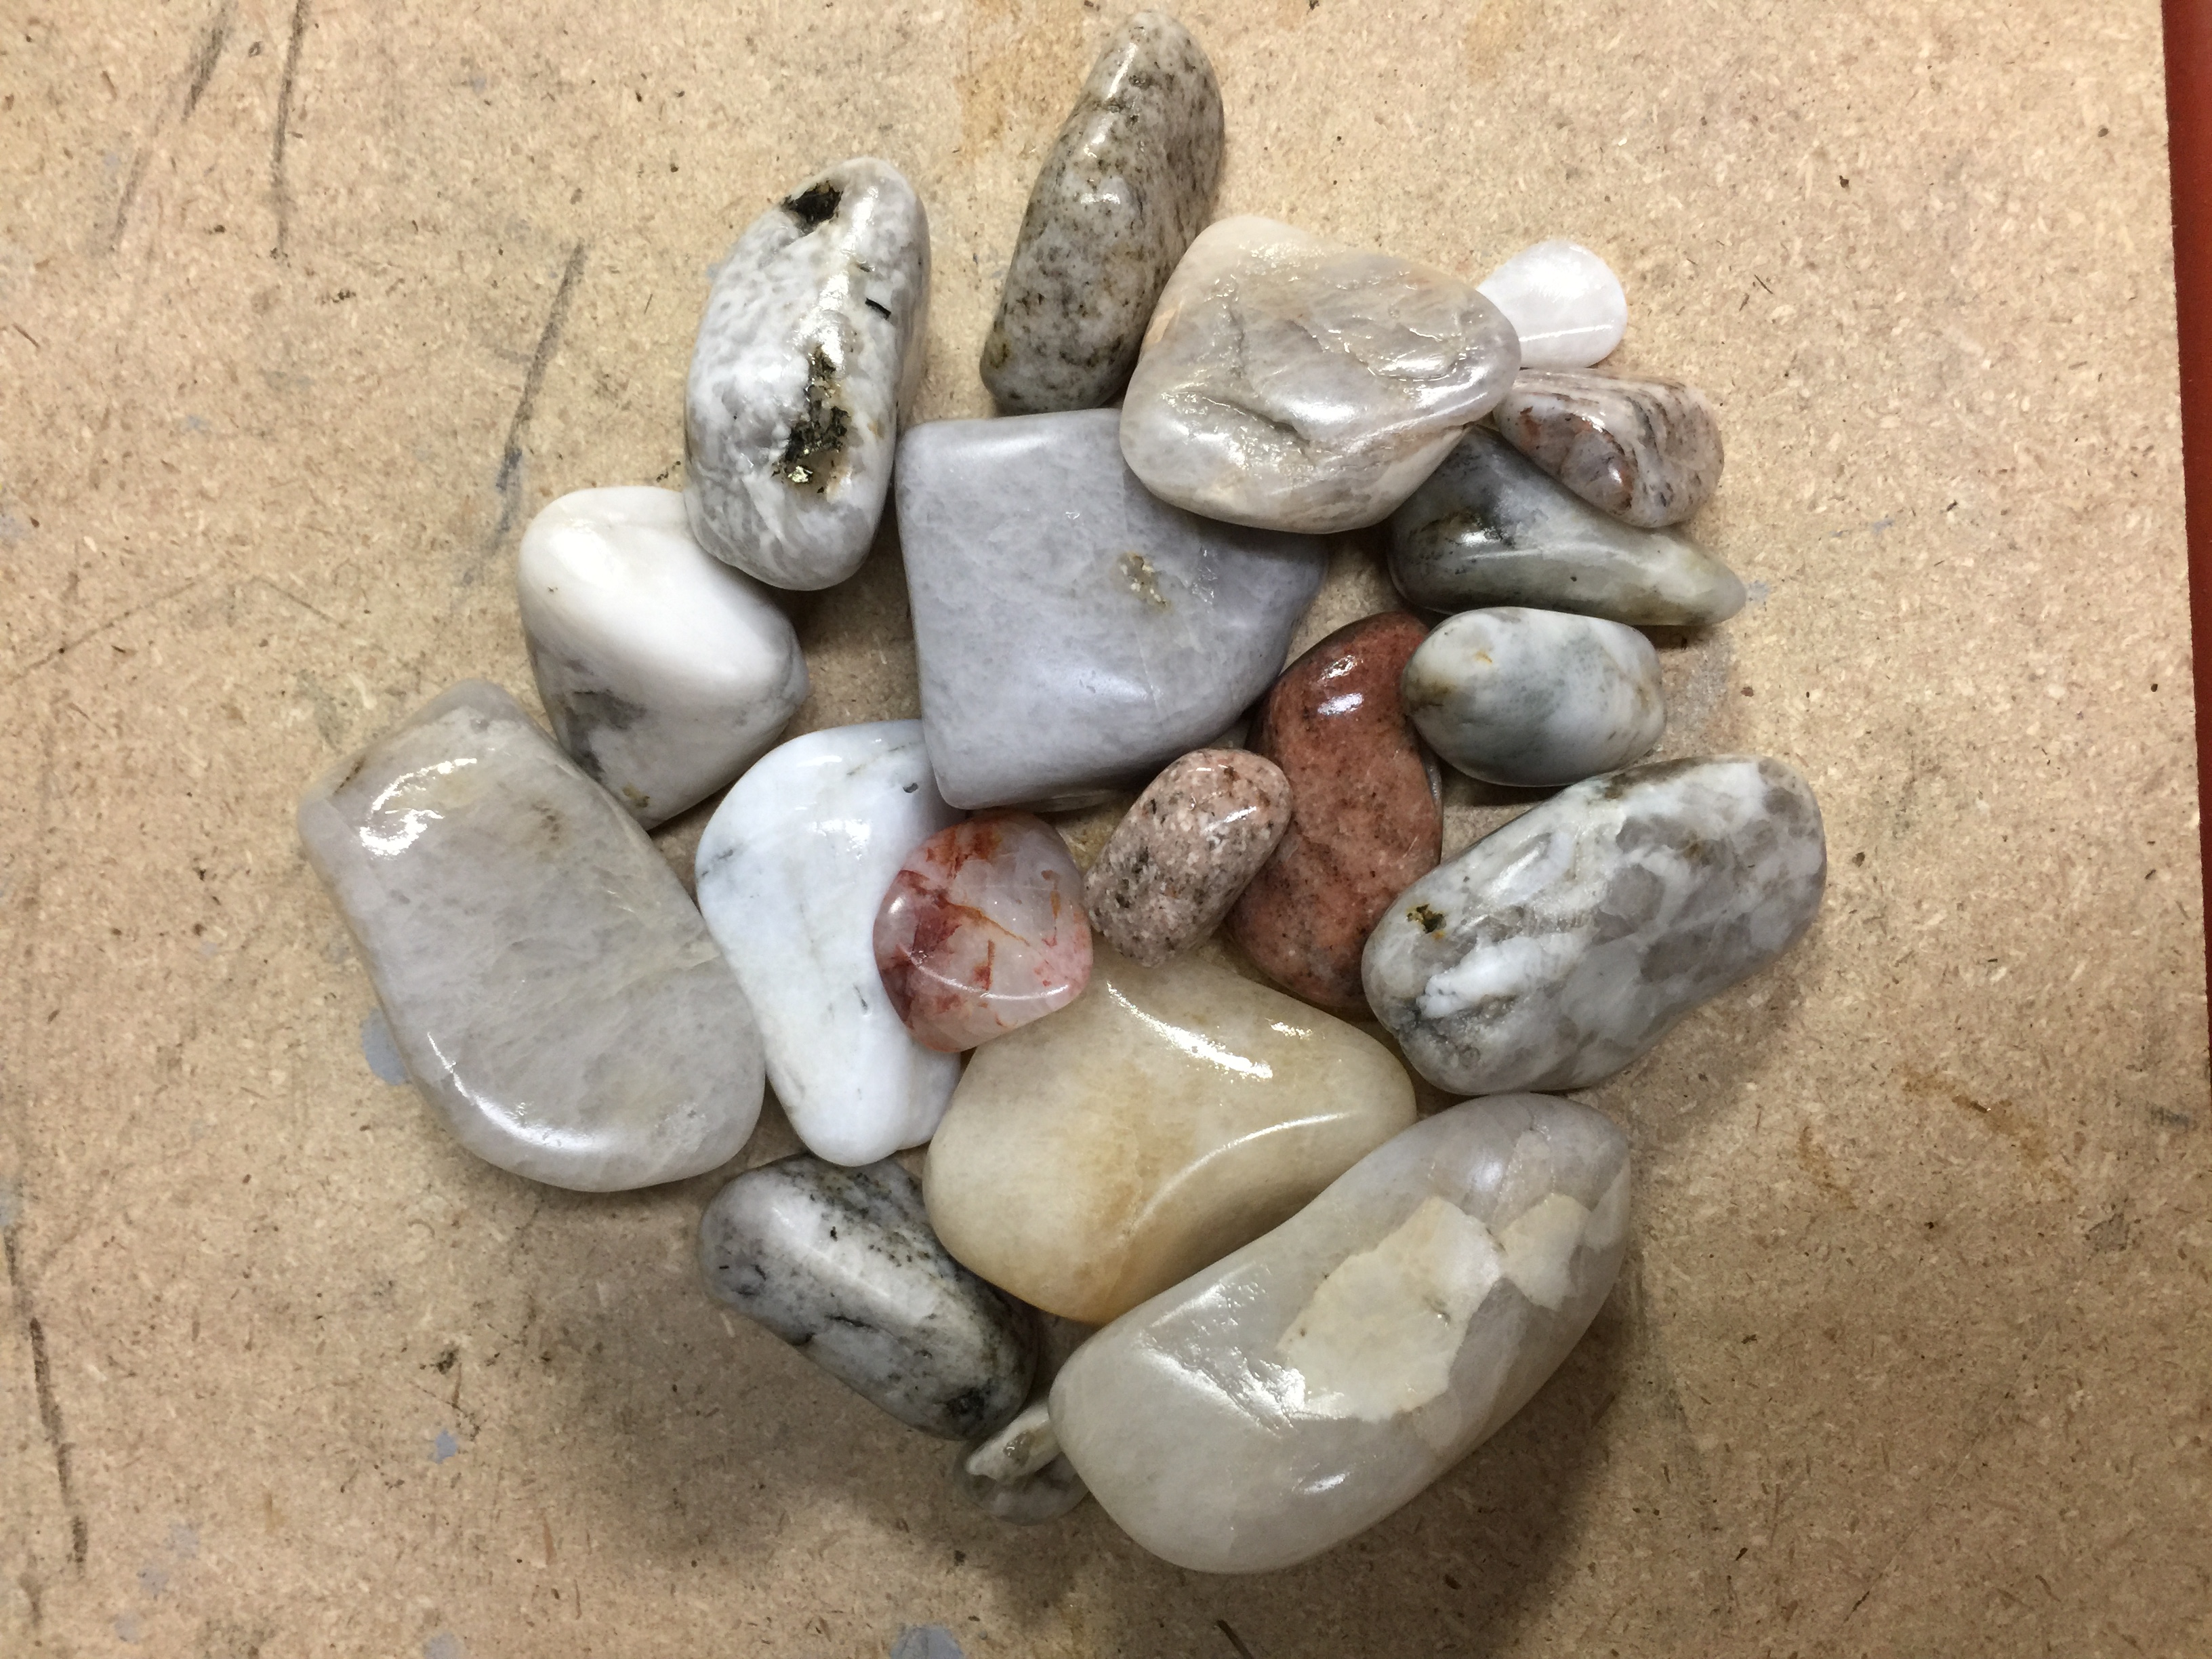
So, I had collected my 20 lbs. of rocks and was ready to start tumbling them! My first step was to wash them. After they were clean and I could see what I was working with, I took an iron nail and tried to mark the stones. If the nail (a 5 on the MOHS scale) left a scratch on the stone then the stone is softer than a 5. If no scratch was left behind, then it is harder than a 5. I know from experience that quartz is about a 6 to 6.5 on the Mohs scale and so I set all of those pieces to the side. After testing my other stones, I was left with about 5 soft ones and the rest were hard.
PRO TIP: Don’t tumble soft rocks with hard rocks because your hard rocks will eat up your soft ones. Ok. Technically the hard rocks will just wear away at the soft ones and eventually you will be left with nothing.
After separating my stones, I put my wet rocks into my tumbler.
PRO TIP: Rocks that are already wet will require less water to get your tumbling process going.
Once my rocks were in my tumbler I turned it on and added ½ cup of water and ½ cup of 60/90 grit. Then I add my secret ingredient!
PRO TIP: Adding 1 tablespoon of Old Miser to your tumbler gives you a tumbling slurry almost immediately.
After adding the secret ingredient (Old Miser) I watched my stones tumble for a few minutes.
I ended up needing to add a little bit more water. I don’t have an exact number because, honestly, tumbling is an art, not a perfect science.
I let my rocks tumble for about a week and then I washed my rocks really well. I was looking for shape and a certain amount of smoothness to my rocks after this step.

PRO TIP: Check your rocks daily for desired shape and smoothness. You might need to “burp” your barrel by opening it up and releasing accumulating gasses released by the rocks. Since I am using Covington’s Deluxe 250 Tumbler, my barrel sits at an angle and I can easily check my stones by taking off the lid and grabbing a stone… all while it’s still running!
After about a week I was ready for step two of the tumbling process!
I washed out my barrel really well.
PRO TIP: Any grit left behind from your tumble can POSSIBLY reintroduce scratches into your piece and prevent them from achieving your final polish. Clean your barrel really well!
Setting up for step two was exactly the same as step one. I washed my rocks, I added wet rocks to the barrel, I added ½ cup of 120/220 grit, I added ½ cup of water, and I added 1 tablespoon of Old Miser. I again needed to add a little extra water after letting it roll for a few minutes.
PRO TIP: You are looking for a “creamy” consistency in your tumbler (see picture). If your stones are too wet or too dry they will not tumble as fast.
Step three is honestly more of the same… (see above)… except I used 3F-400 grit.
So far my rocks are looking awesome! I am ready to move on to my prepolish cycle.
Check back next week for a tumbling update!!